Sony KVD-6NV1 Details and Fan Replacement
Sony KVD-6NV1 Fan Replacement
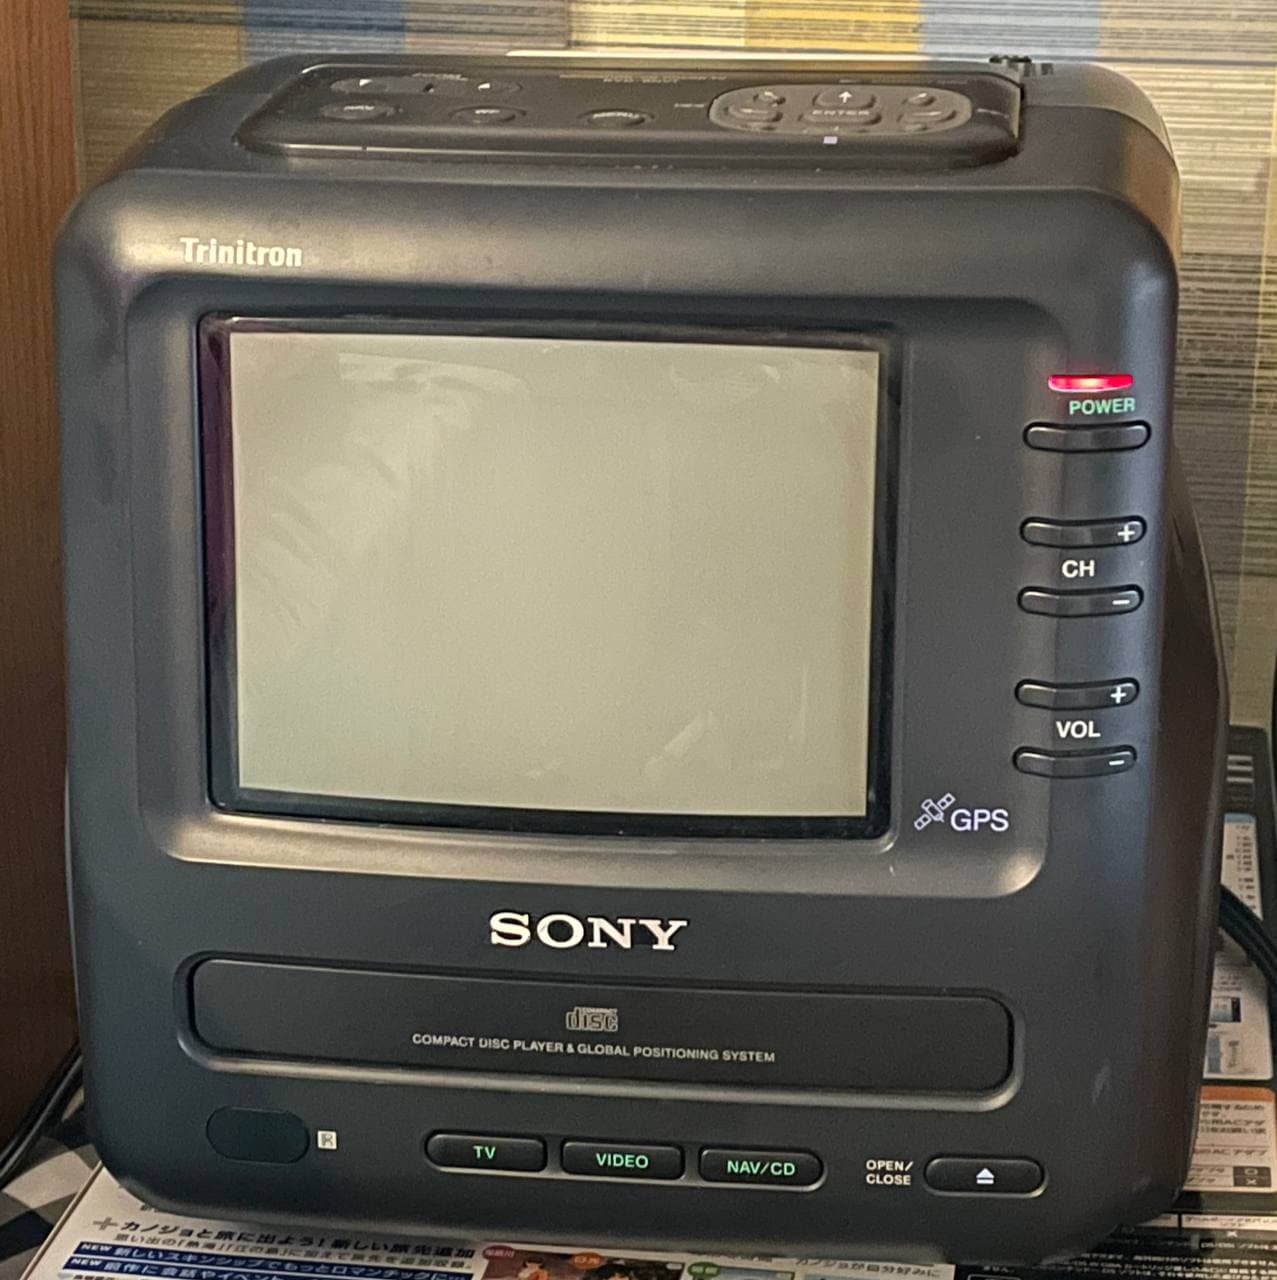
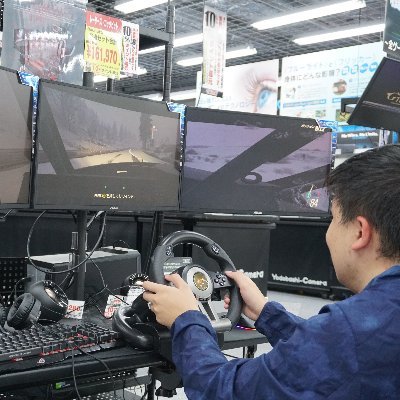
A unique Trinitron set from Japan, the KVD-6NV1 was intended for portable use in cars, sporting a GPS navigation system mode alongside the usual TV and RCA video inputs.
I recently imported a used unit from Japan. Unfortunately it makes a very annoying loud noise while powered on which I have quickly determined to be coming from a small fan in the back. Given the lack of documentation on this model I hope this post will be useful to other owners or at the very least informative.
A Phillips #1 screwdriver is all that is needed for disassembly.
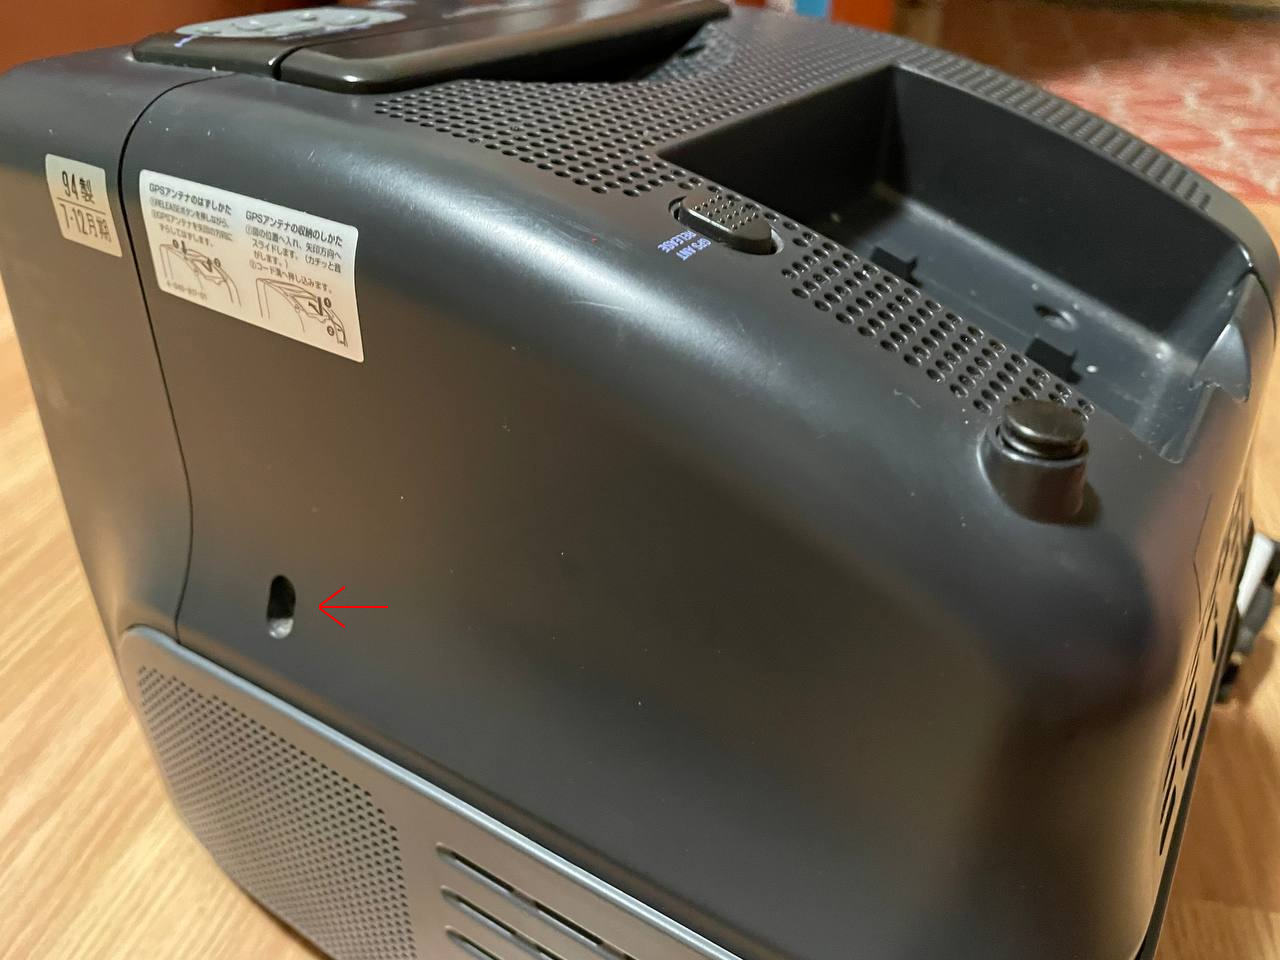
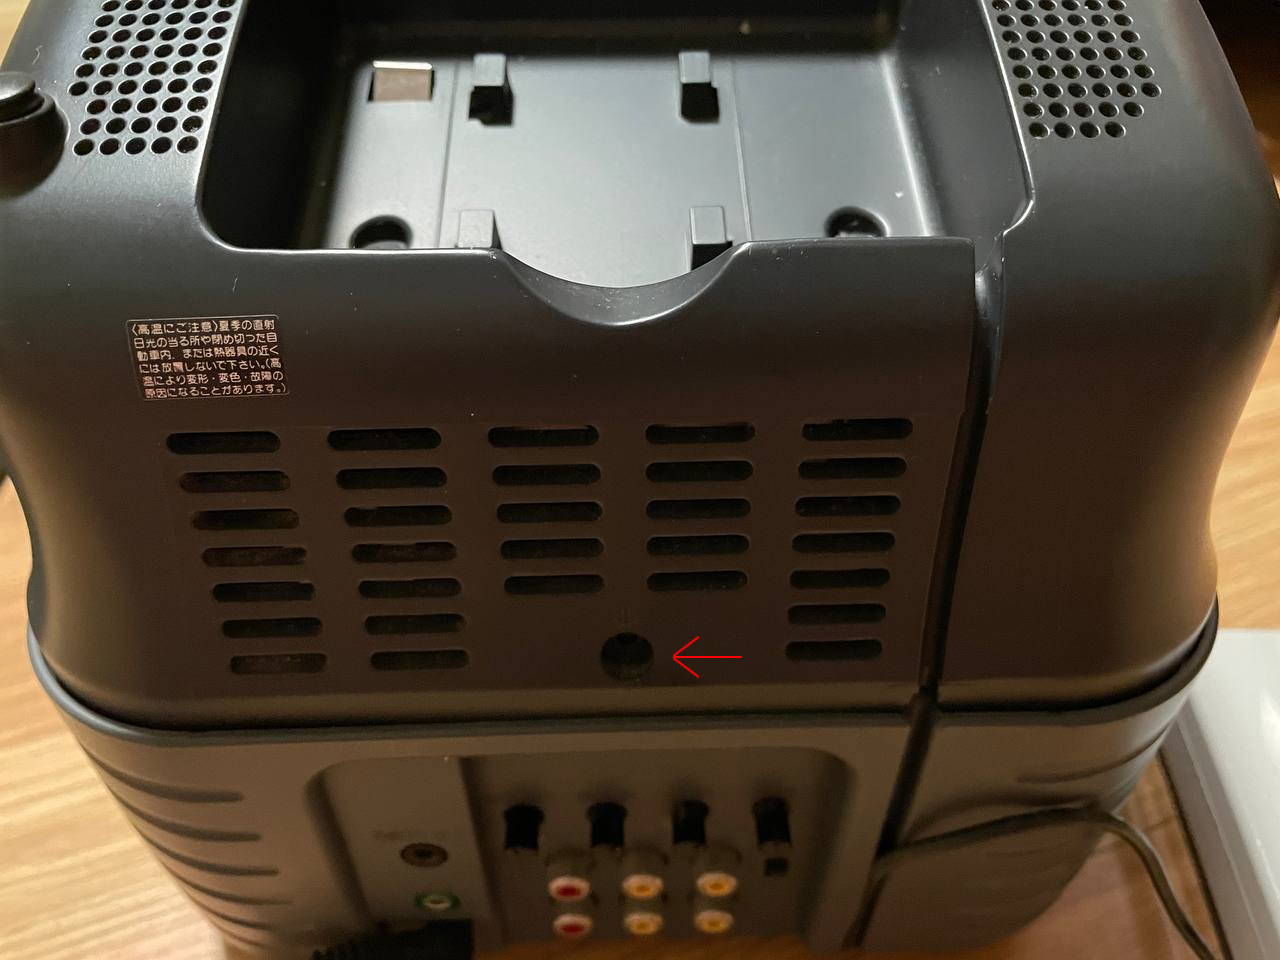
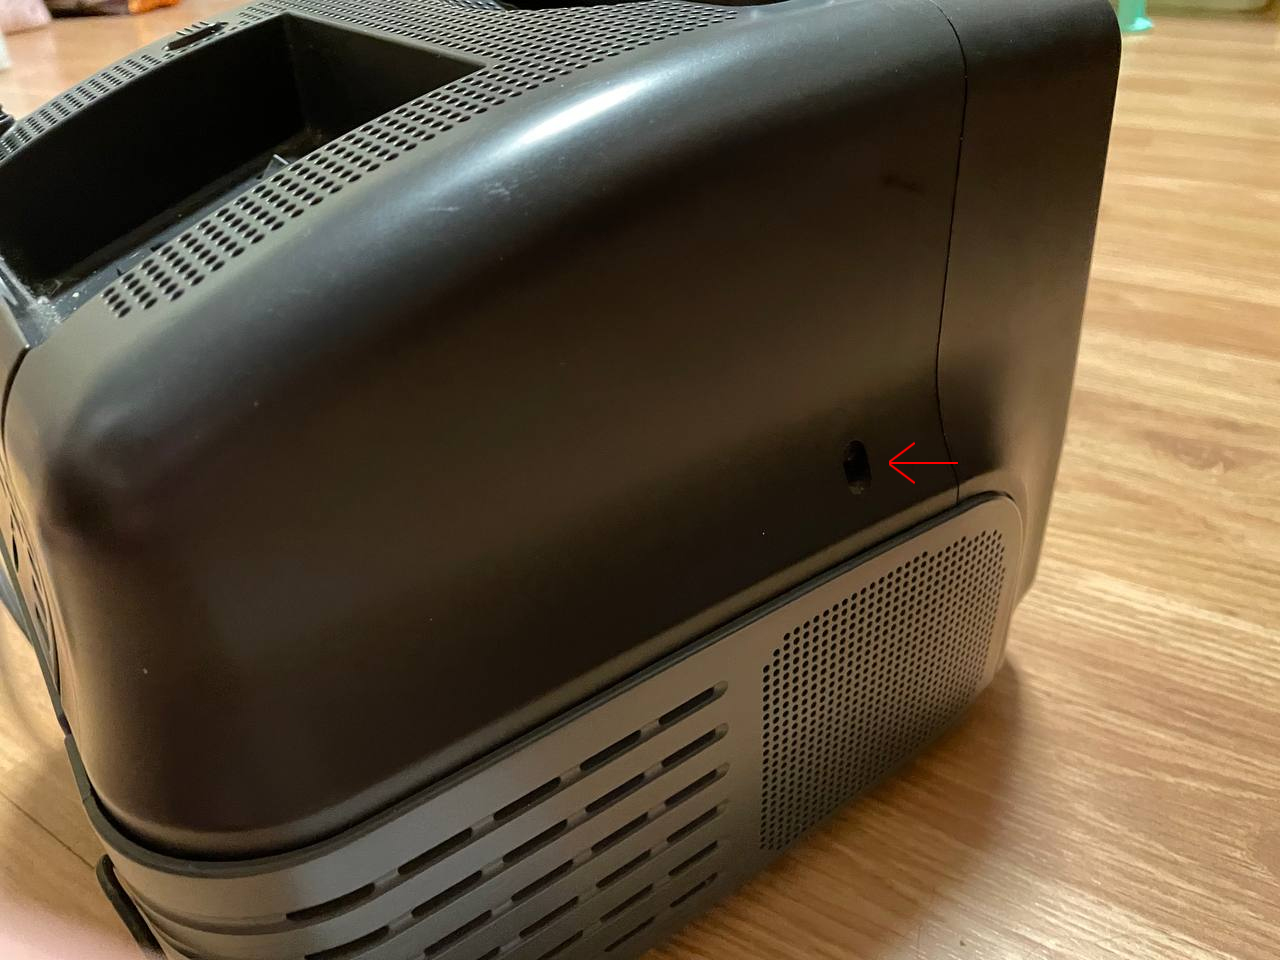
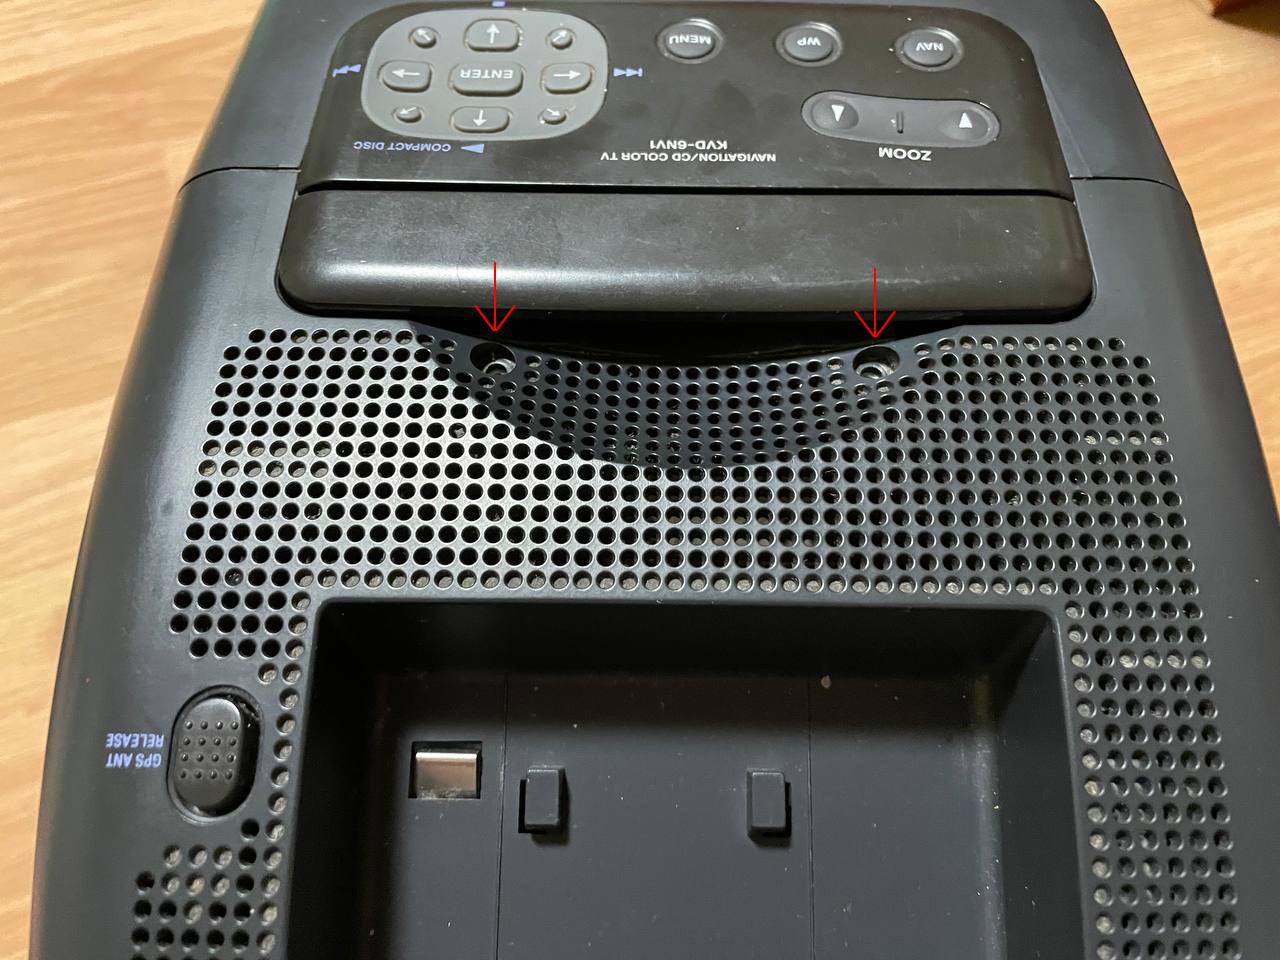
There are 5 screws you need to remove to get inside. One on the left side, one on the right side, two on the top, and one in the back of the case. Pictures below.
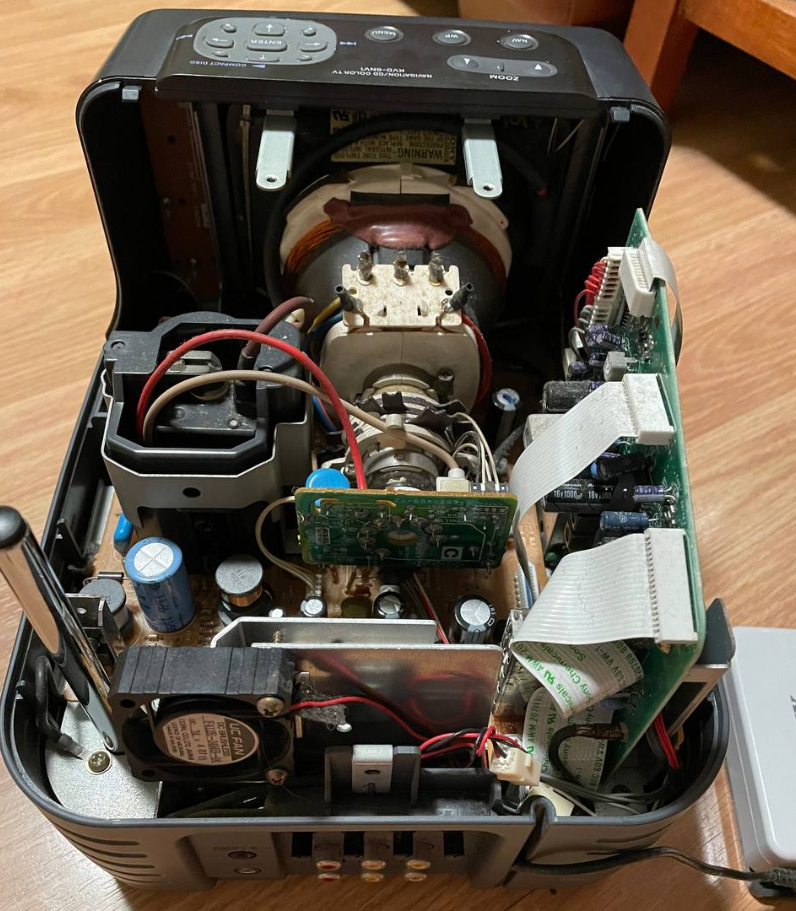
With some care you should be able to slide off the top once all the screws are removed. Be aware of the antenna during removal and make sure the GPS receiver has been ejected and set off to the side beforehand.
Once the top is off the tube is exposed along with the back exhaust fan, the model on my unit is UC FAN F412R-24MB-04. This is also attached to the metal chassis with two Phillips #1 screws. Pictures of all these screw locations are below.
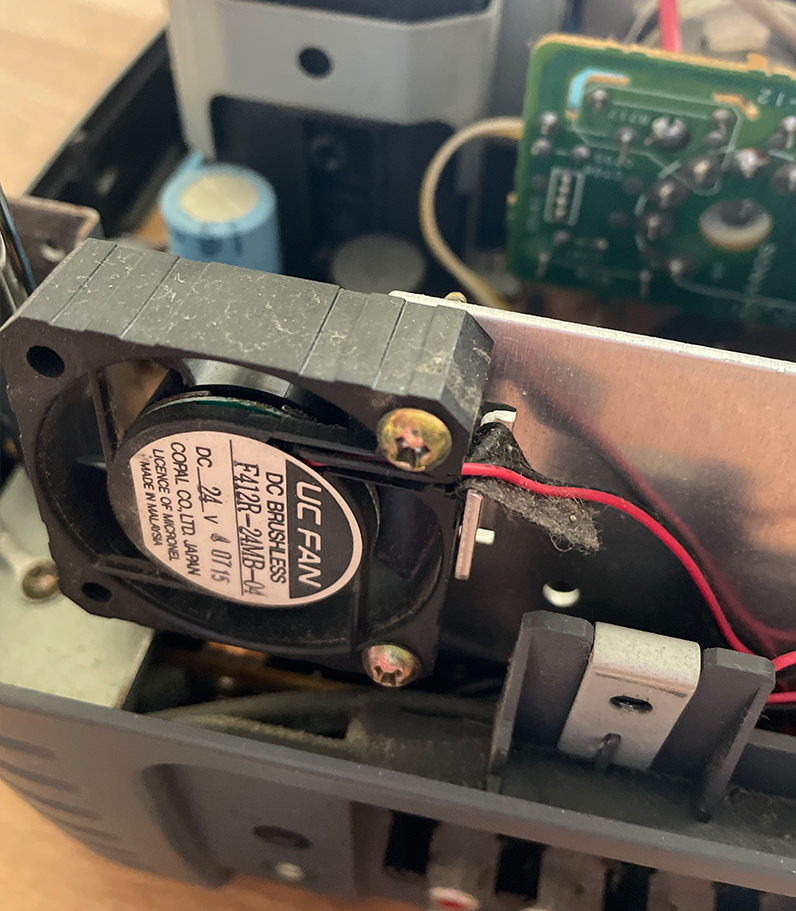
The datasheet for this fan model indicates it is 24V with current rating 40 mA and that it is a 40mm fan with a 12.20mm width.
As a replacement any 24V 40mm fan with a width <12.2mm should suffice. I went with a ANVISION DC 24V 40mm x 10mm Brushless Cooling Fan from Amazon. Unfortunately this fan does not have the same connector (even if it did the wires are reversed) so I will have to strip and solder the wires to the original connector. Pictures of the finished solder job are below.
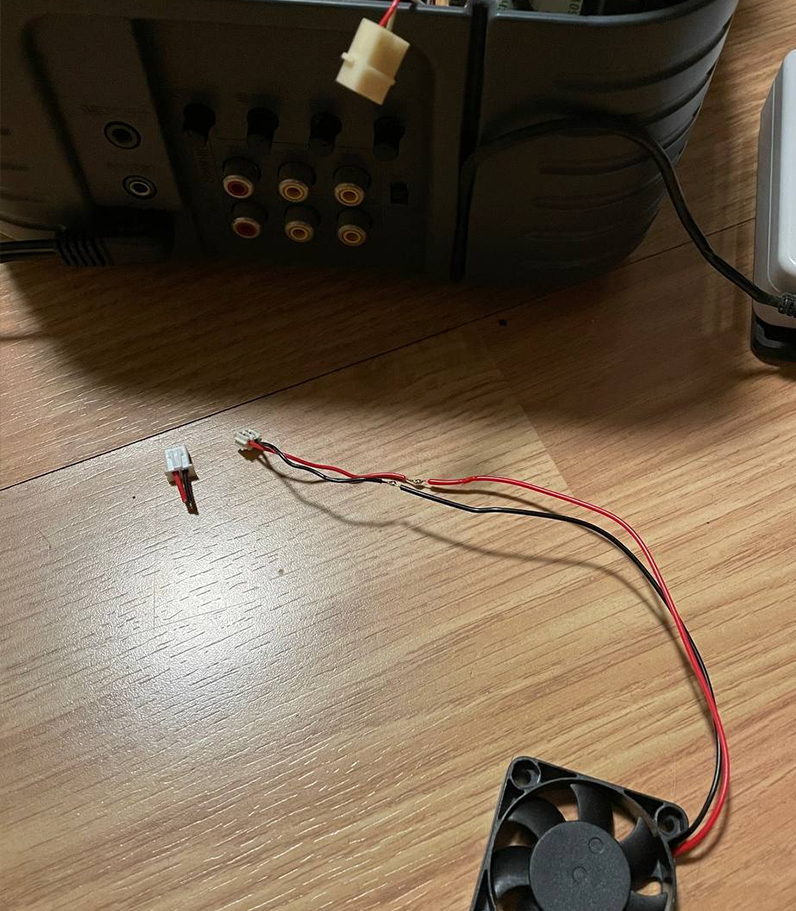
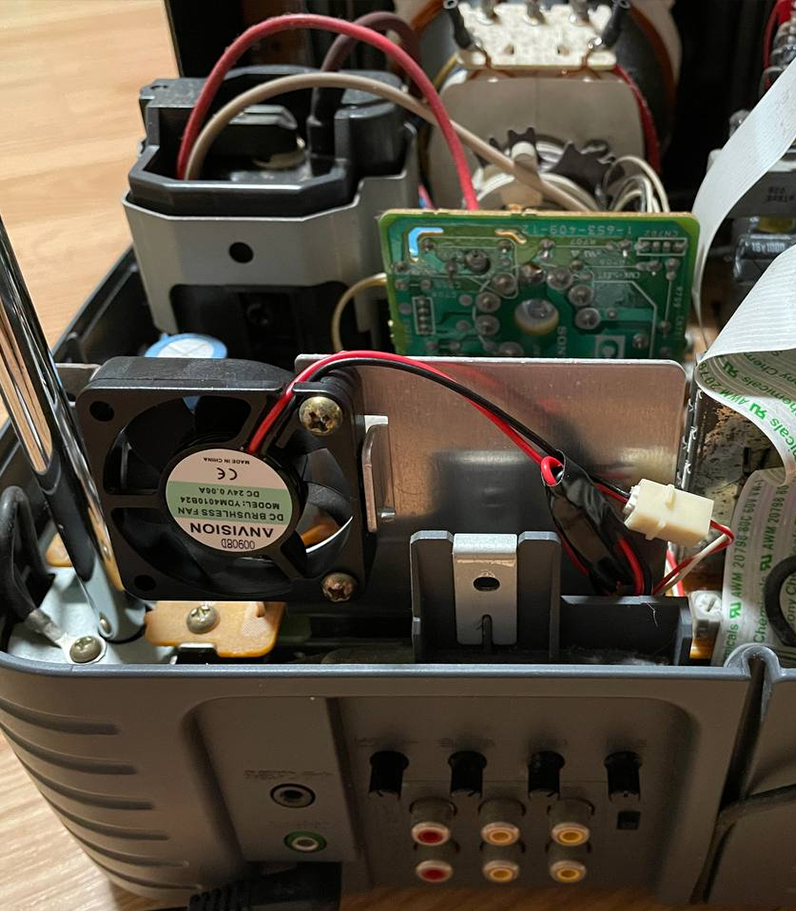
The airflow direction of the fan should be pointing outwards. For both the original and replacement fan this would mean orienting them as shown in the photos with the sticker label facing out towards the back.
After finishing this fan replacement the loud noise is significantly reduced and I can now use this TV properly without experiencing any fan grinding noises.
Considering the intended use case of this TV (in a car in the hot summer heat) this fan might not seem as necessary in an indoor setting, but was a fun repair exercise nonetheless.