Califone Cardmaster Belt Replacement and Repair
Califone Cardmaster Series 2000
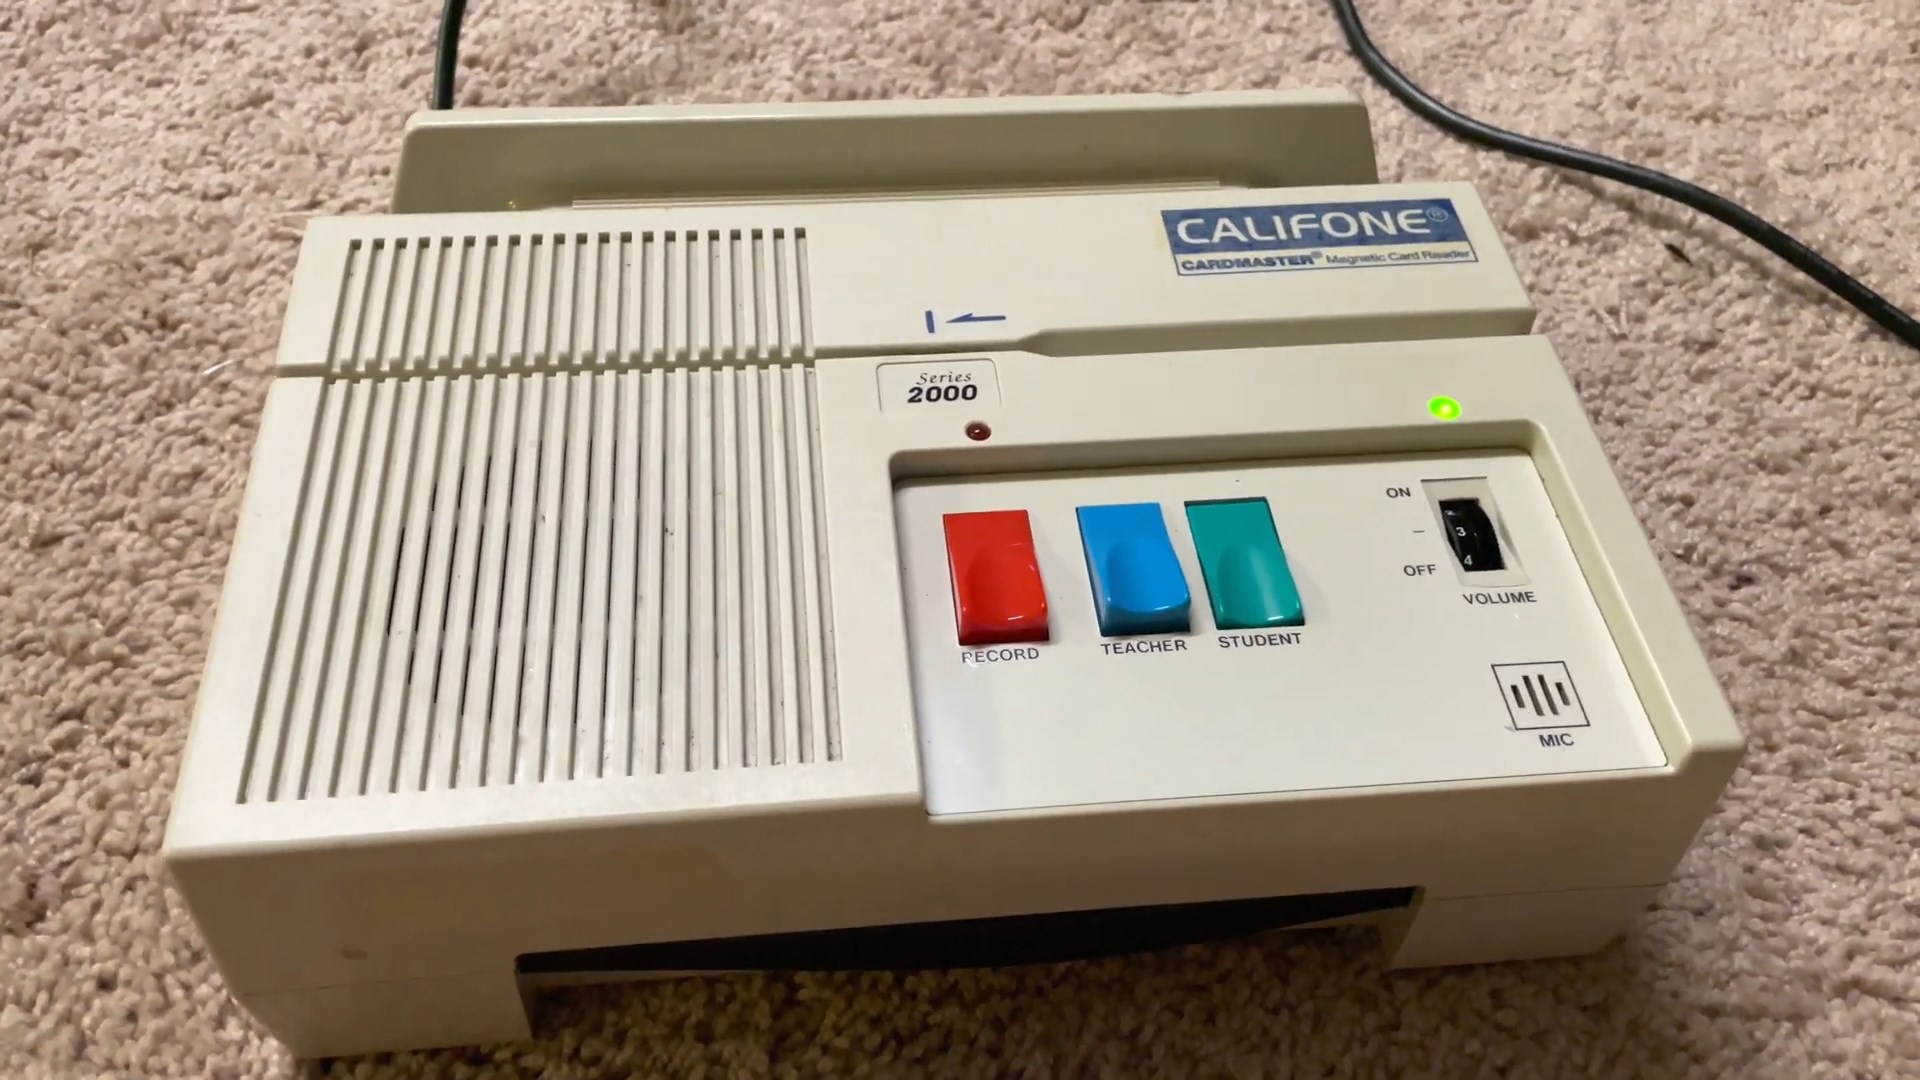
This is a text write-up documenting my findings when repairing a broken Califone Cardmaster Series 2000. I have a YouTube video up here if you want a more visual look.
Brief Introduction
This device was notably used in the 2017 movie Baby Driver as covered by Techmoan here.
Originally an education device, it was used for language teaching in the past as a way to teach students word pronouciation but has fallen out of use with the more modern tools now available.
Though for people who like to play around with audio and do experimental music this is a neat toy to have. You can manipulate analog audio in a way similar to a DJ scratching old vinyl records on a turntable.
In that regard it has experienced a resurgence in popularity, making it more difficult to obtain than in years prior and if you do get your hands on one it may require some maintenance as is commonplace when dealing with old vintage electronics.
The Issue
I got one of these units recently for a reasonable price and it worked for all of two minutes before the card sliding mechanism stopped engaging the card.
Though even when it did function the playback speed was all over the place. It sounded super distorted and, although the weird slow downs were amusing, it made it impossible to use normally.
It’s clear something stopped working and that part would be affecting the motor that runs the card through.
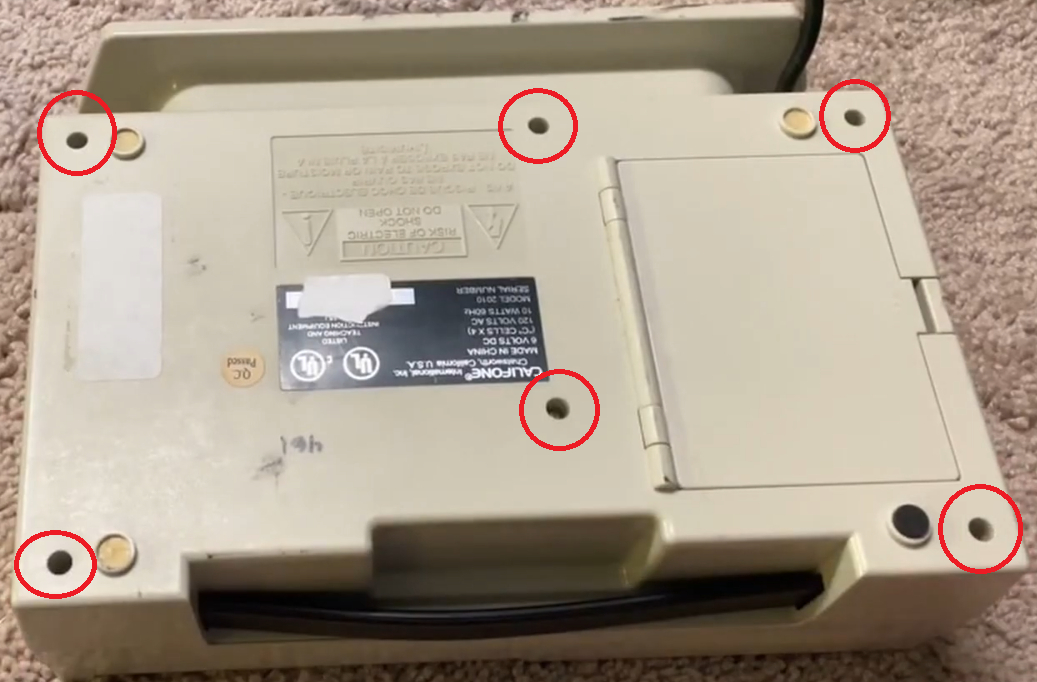
So flipping the device to the back you can see 6 screw holes, but these are very deeply recessed. If you’re using a multi-bit screwdriver it will most likely get stuck before reaching the screw.
So you’ll need a standalone screwdriver, Phillips #2, and it should be a simple removal.
Two things to be careful with:
- The back cover has a wire (red/black braided) attached to the circuit board, so you’ll want to keep it close once it’s removed.
- You’ll have to remove it at an angle because the left side panel of headphone/mic jacks does go through the back cover.
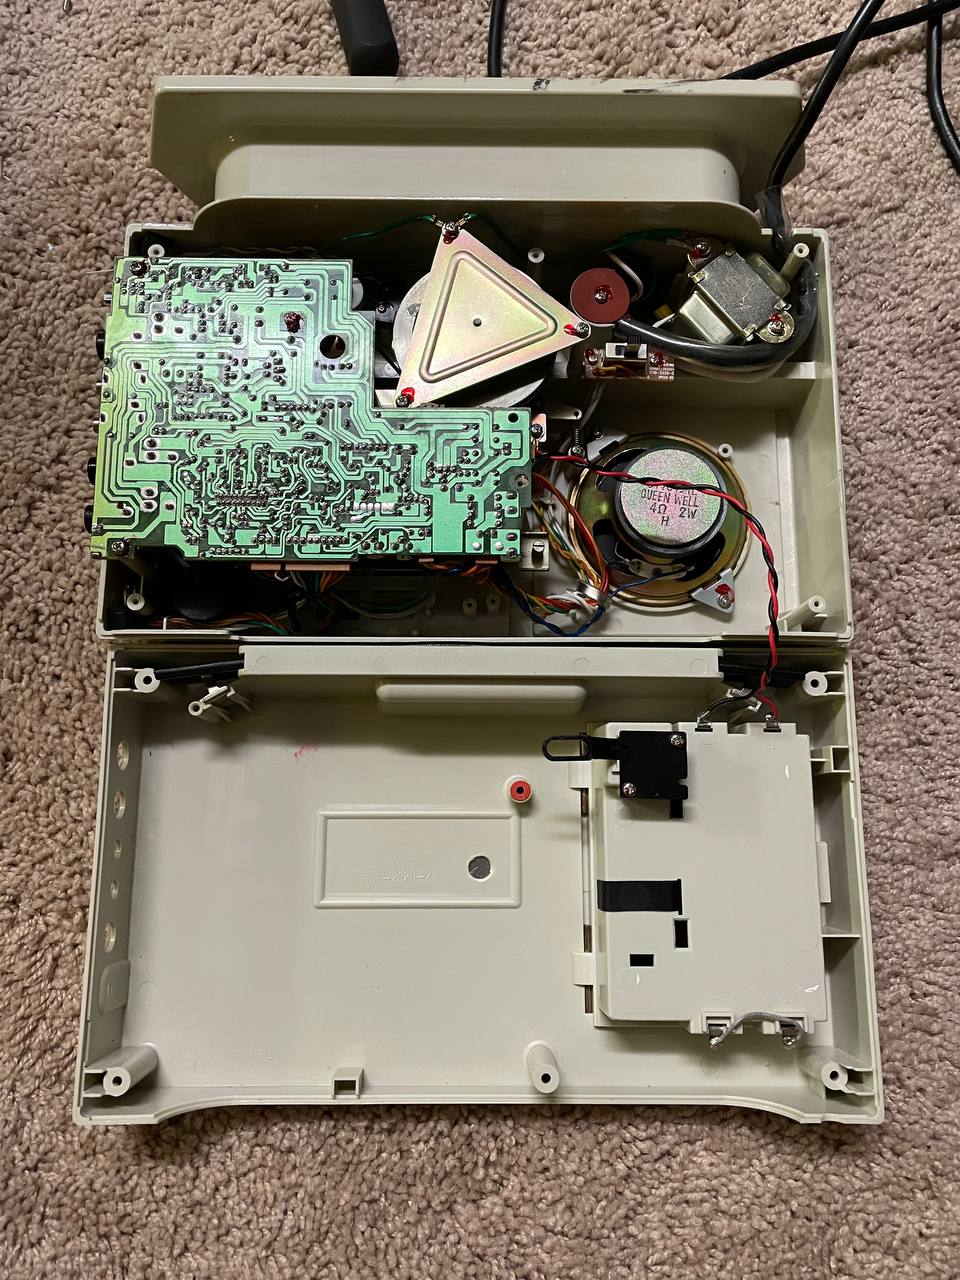
With the back cover off and set off to the side you can now admire the engineering on this thing.
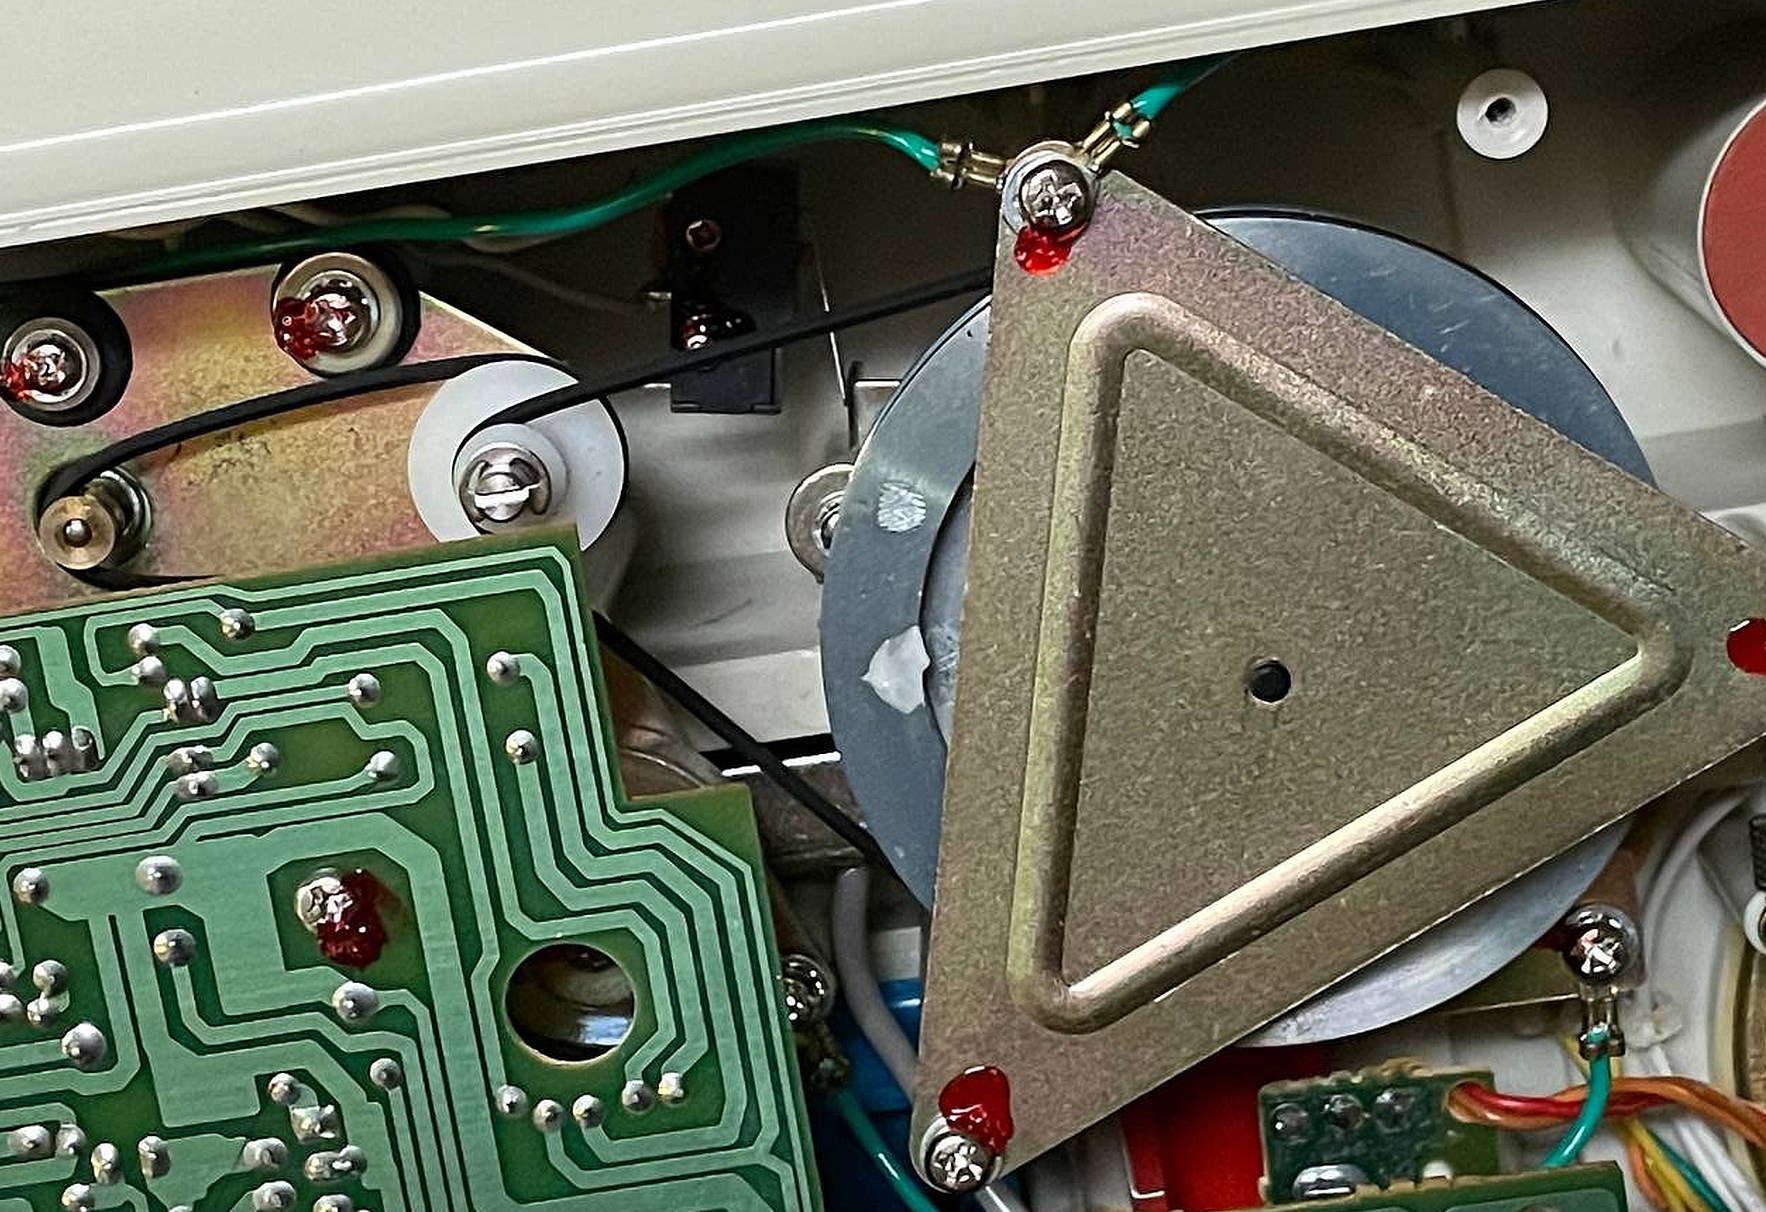
Looking at the top side, there are these two belts here. One small belt on the left side and one larger belt on the right side. These look to be controlling the card sliding mechanism and a closer inspection of the small belt reveals the cause of all the issues.
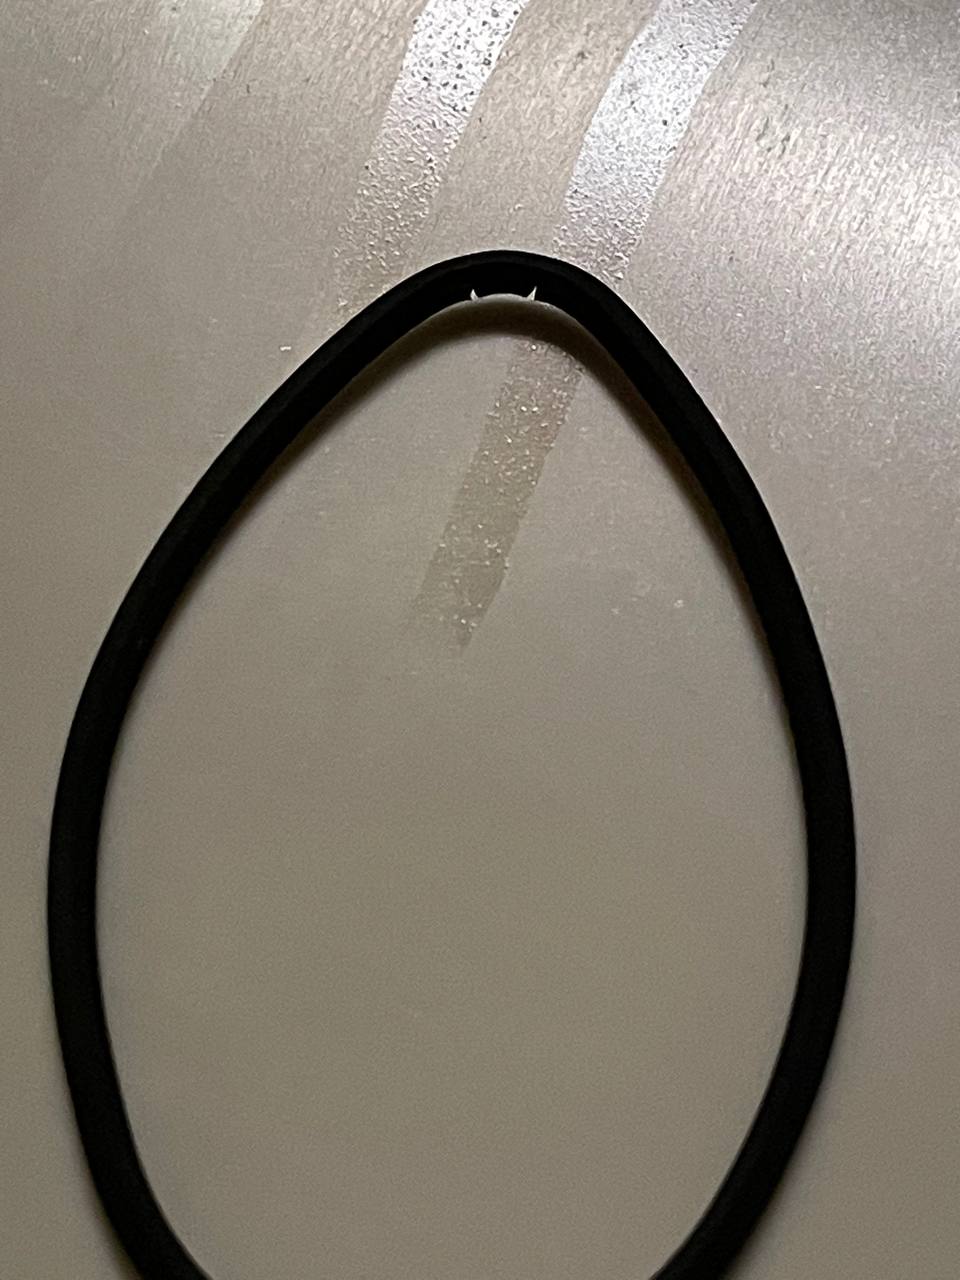
If you’ve ever seen an old worn out rubber band, it looks the same as this. Over time it will start to break apart, causing those small tears that you can see in the picture. Even in the previous picture you can see that the belt is already very loose, barely having any grip on the motor.
The Repair
So going back to the picture of the two motor belts, you’ll need to remove the triangle shaped metal piece by removing the 3 screws holding it in place. Make sure to keep track of those screws since they have washers attached to them and are different from the other screws that hold in the back cover.
Once you’ve removed that piece you can just pull and remove the belts in order using your fingers, making sure to remember that the small belt is under the large belt as per the picture.
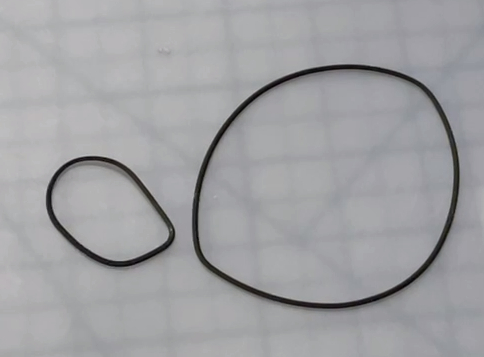
Now that the belts are out of there we can see the slight protrusions on them, which become more of an issue over time so it’s best to just replace these with new ones.
Luckily for us these belts are commonly used in old cassette players, and since the length of those belts vary between brands you can easily find generic assortment packs online by searching for “cassette belts”.
I’ve gotten rough diameter measurements for both these belts with the small belt being ~32-33mm and the large belt at ~75-76mm. Keeping in mind that these belts are old and stretched out you’ll want to round down those numbers a bit to be safe.
That said I’ve gotten a belt pack on Amazon: BLUE GARLIC DVD Rubber Belt 20mm to 100mm Cassette Mixed Square Cassette Recorder 40PCS
I was able to find similar belts that were smaller than both the originals but close enough to work as a replacement.
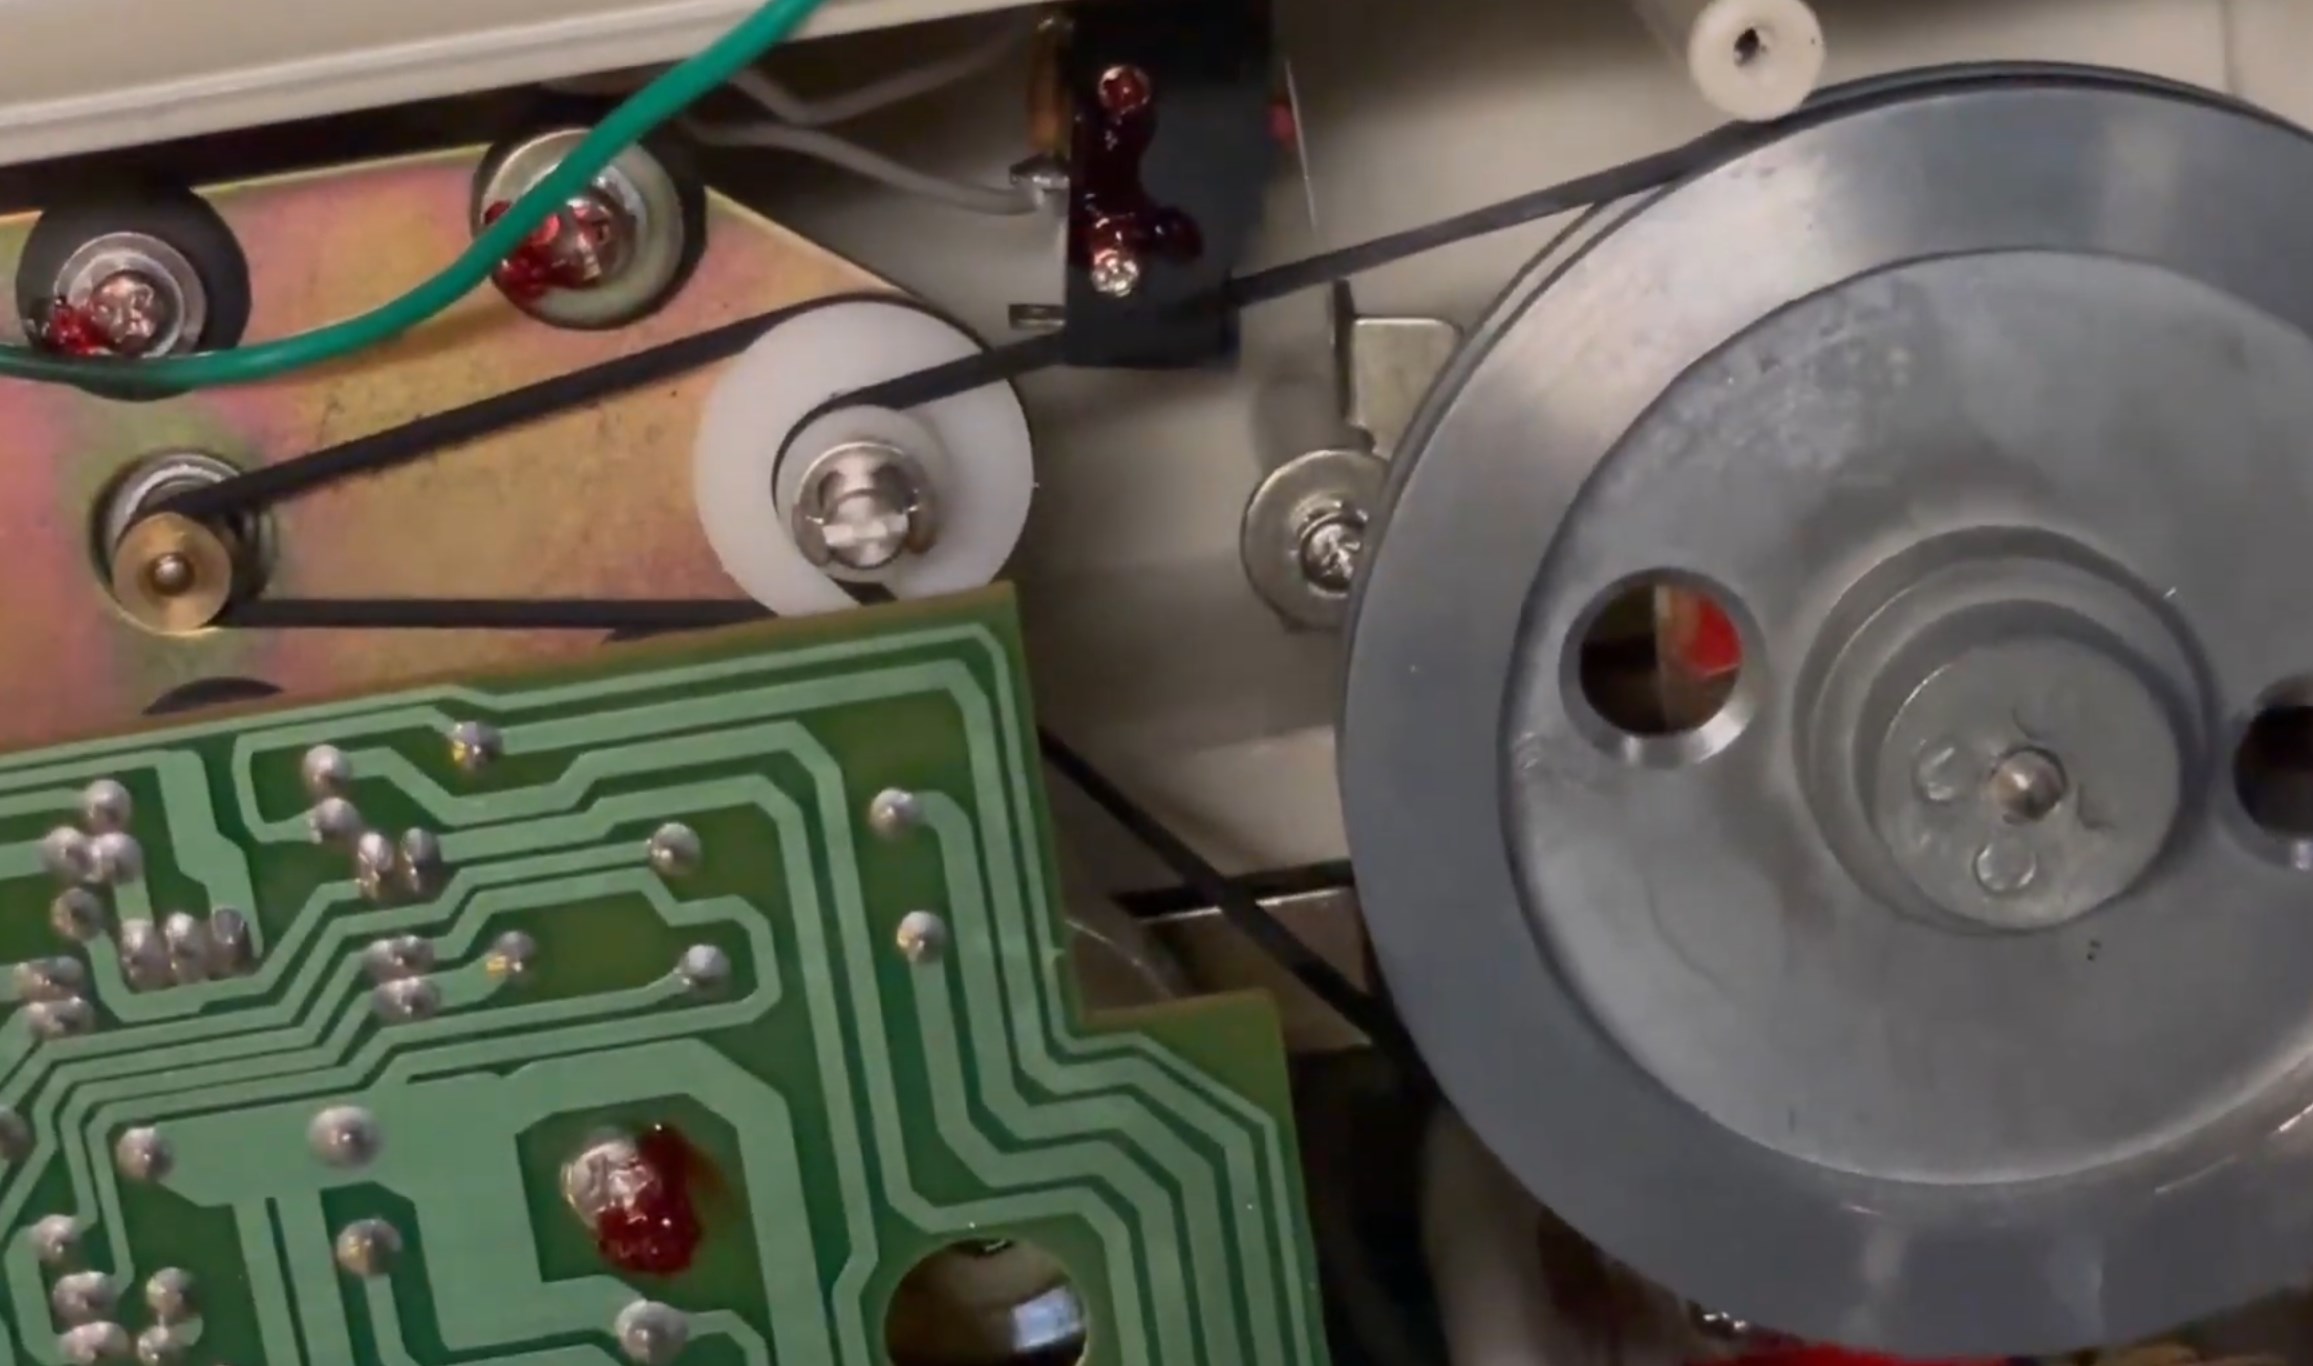
After replacing both belts you can see in this photo that they’re a lot more secure than the old belts. And with everything reassembled I can say that the belt replacement did the trick.
The Cardmaster is back in business and I am glad this repair is as easy as that. All you need is a screwdriver and 30 minutes, and pretty much anyone can do it.
The End
I hope this helps someone down the line because these belts seem like they’ll be a common failure point and as these devices get older it’s gonna be more likely to happen.
If you have any questions feel free to contact me on Twitter at @larryslair. You can also leave a comment on the YouTube video I made documenting this repair.
